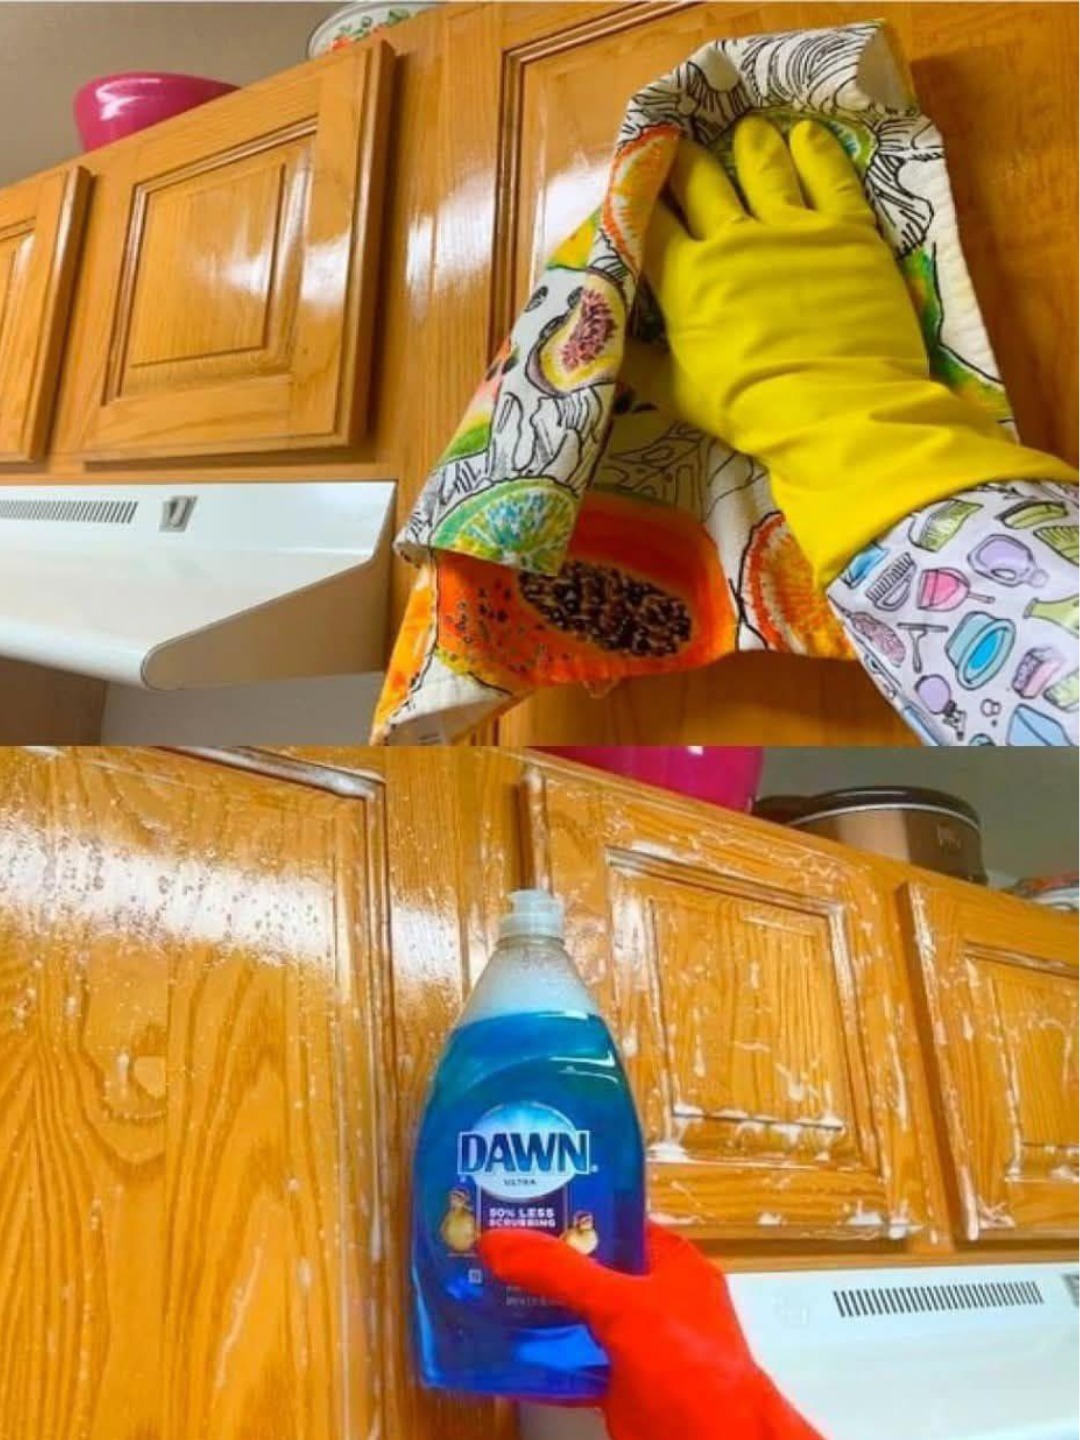
How to Deep-Clean Grimy Kitchen Cabinets and Restore Their Shine
🧼 What You’ll Need
Baking soda
Gentle abrasive — lifts dirt without scratching
Coconut oil
Cuts through grease, conditions wood, adds shine
Small bowl
To mix the paste
Soft sponge or cloth
For gentle scrubbing
Old toothbrush
Perfect for corners, grooves, and trim
Damp microfiber towel
For wiping away residue
Rubber gloves (optional)
Keep hands clean and soft
✅ Substitute: No coconut oil? Use olive oil or almond oil — just avoid mineral oil.
🧽 Step-by-Step: Deep-Clean Your Cabinets
Step 1: Make the Cleaning Paste
In a bowl, mix:
½ cup baking soda
¼ cup coconut oil
Stir until it forms a thick, spreadable paste — like toothpaste or frosting.
✅ Why this combo?
Baking soda scrubs gently
Coconut oil dissolves grease and conditions the surface
Step 2: Apply the Paste
Dip a soft cloth or use your fingers to scoop up the paste
Spread it onto the cabinet surface, working in small sections
For detailed trim, corners, or handles, use an old toothbrush to scrub gently
✅ Pro Tip: Focus on high-grease zones:
Around knobs and handles
Above the stove
Near the sink
Step 3: Scrub in Circular Motions
Use gentle, circular motions to work the paste into the surface
Let it sit for 1–2 minutes on tough spots — the coconut oil will break down the grease
✅ Don’t press too hard — the paste does the work.
Step 4: Wipe Clean
Dampen a microfiber cloth with lukewarm water (not soaking wet!)
Wipe away the paste and grime
Rinse the cloth often to avoid reapplying dirt
Dry immediately with a clean, dry towel
✅ For wooden cabinets: Avoid excess water — it can warp or damage the finish.
Step 5: Admire the Shine
Step back.
Look at your cabinets.
Touch the smooth, clean surface.
That natural luster?
It’s not polish.
It’s coconut oil conditioning the wood, restoring its glow — safely and beautifully.
🌿 Why This Method Works So Well
Baking Soda
Non-scratching scrubber that lifts dirt and neutralizes odors
Coconut Oil
Penetrates grease, moisturizes wood, and leaves a soft shine
No harsh chemicals
Safe for homes with kids, pets, or sensitivities
Unlike commercial cleaners that leave residue or fumes, this method cleans and nourishes — all in one step.
💡 Bonus Tips for Best Results
Spot-test first
Try on a hidden area to ensure no reaction with your finish
Remove hardware (optional)
Take off knobs and handles for a deeper clean
Clean one section at a time
Prevents paste from drying before wiping
Repeat monthly
Prevents heavy buildup — 10 minutes a month saves hours later
Use less water on wood
Moisture is the enemy of wooden cabinets
🍃 Natural Alternatives for Different Surfaces
Wood
Coconut, olive, or almond oil
Laminate
Any light oil — wipe thoroughly
Painted
Use less oil — wipe clean to avoid stickiness
Glossy finish
Stick to baking soda + water — oil may leave haze
🧠 Final Thoughts: A Clean Kitchen Starts With Clean Cabinets
We clean countertops.
We scrub sinks.
We mop floors.
But cabinets? They’re easy to overlook.
Yet they frame your kitchen.
They’re touched every day.
And when they’re clean?
The whole room feels fresh, bright, and cared for.
So next time you’re tempted to ignore that sticky door…
Don’t.
Grab your bowl.
Mix the paste.
Scrub with love.
Because sometimes, the difference between “my kitchen feels dirty” and “everything looks brand new”…
Isn’t in the floor.
It’s in the cabinets.
And once you clean them this way?
You’ll wonder why you waited so long.